Did you know that 2.6 billion people actively use Facebook every day?
Because of its vast reach, Facebook has become a go-to component of almost any inbound marketing strategy.
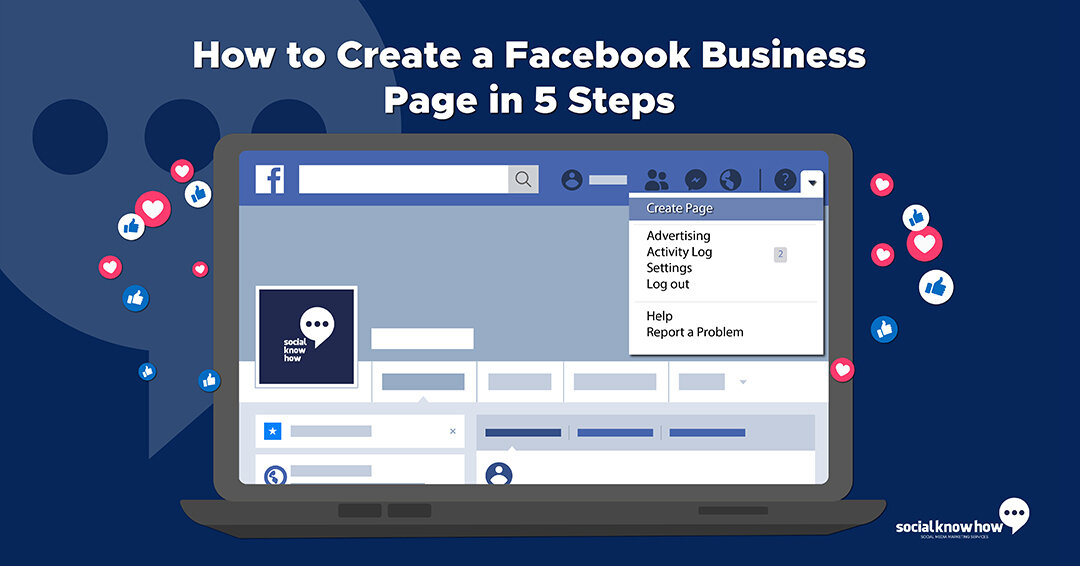
Today we will cover the most recent process of setting up a Facebook Business Page. Don’t waste time! Build this asset so it works for you.
Let’s begin!
What is a Facebook Business Page?
A Facebook Business Page is your stop on the Facebook scrolling superhighway. Imagine it as your real estate in the community that is Facebook.
This is where you will have your main Facebook presence. You will post updates, share content from employees and customers, and link to when referring to your business elsewhere on Facebook. Consider this your “home.”
On your Facebook Business Page, you will have static elements like your About information and cover image, but to manage your Page correctly, it should be consistently updated.
How to Create a Facebook Business Page?
1. Create a Page
Head on over to Facebook. On the left-hand menu, you can click on Pages then Create New Page. This should launch the Page creator within your Facebook.
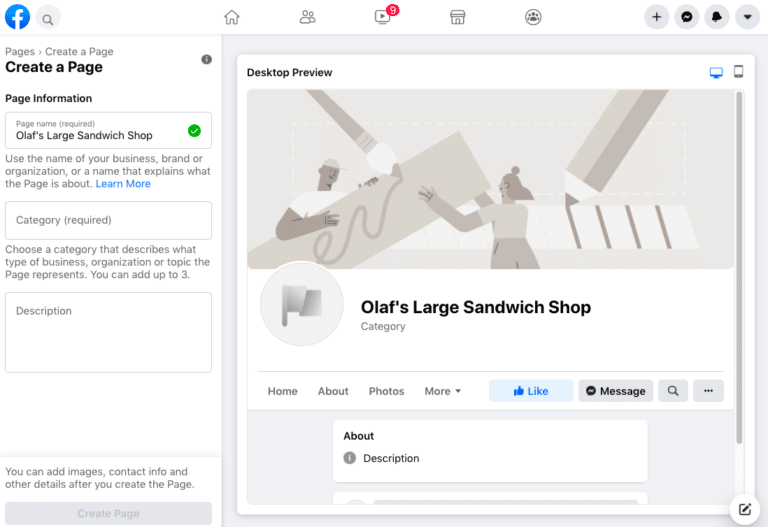
Enter your Page name and choose up to three categories. Type in a brief description – what your business does, the services you provide, or the purpose of the Page in under 255 characters. Once done, click Create Page.
2. Add images
Clicking Create Page shouldn’t move you off the Page creator. You’ll see two more prompts added to the left-hand menu. The profile photo should be 170×170 pixels and the cover photo 1640 x 856 pixels.
It’s important to add a logo or widely recognized image for your profile photo. If you have other social media accounts for your business, consider using the same profile photo from those as well to keep consistency. When finished, click save.
3. Choose a username and assign a CTA

Now you should be in the Facebook Business Page dashboard where you’ll manage all other aspects of your Page.
The first thing to do is to choose a username for your Page. A username helps people find your page in search and allows them to easily tag your Page when posting about your company. Keep in mind that your username makes up your Facebook Business Page URL.
The next step is to + Add an Action Button (Call To Action) to your page. This should be the action you want your visitors to take when they visit your Facebook Business Page.
You can choose from different calls to action like Shop Now to Learn More to Contact Us.
You can even input your website address to drive more traffic.
4. Edit your Page Info
After setting a username and choosing a CTA, click More then About in the main menu. This will navigate you to your Page info. This is where visitors will go to learn more about your organization.
Click Edit Page Info on the top right corner to update this information. In this section you can update:
- Location: If you’re a local business, input your business address so visitors can find you.
- Hours: Brick and mortar businesses should input their store hours as some shoppers may reference their Page to see your hours.
- Price Range: This is optional based on your product and services.
- Additional Contact Info: Input your website, phone number, and email address. This information also drives traffic to your website.
- More Info: You can add more information under “additional information.” and you can write a mission statement under “Impressum.”
5. Understand your Page settings
Get familiar with Setting at the bottom. Each setting may change or update on your Page.
Here are a few settings you should know.
- General – Others Tagging this Page. Make sure this is checked as it will allow people to post about your company and products and tag you in their mentions.
- General – Similar Page Suggestions. This recommends your Page to new followers and fans.
- Messaging – Show a greeting. Turn this on to automatically send your followers a greeting when Messenger is open.
- Notifications – This section allows you to modify when and how you would like to get Page alerts.
- Page Roles – You can invite colleagues to make changes to your Pages. Here are the situations in which you may need someone to access your Facebook Business Page:
- A public relations manager
- A Support Representative assigned to answer technical questions
- A designer tasked with uploading new photos
If you haven’t set up your Facebook Business Page, you’re missing out on developing a strong inbound marketing strategy. Engage your audience and drive traffic with Facebook!
Want to know how Social Know How can harness the power of social media? Contact us!